

We’ve all experienced it—the point where you have finished using the bathroom and accordingly flush the toilet. Then chaos ensues! Toilet water continues to rise to the brink of your toilet bowl, and to your dismay, it’s not stopping any time soon. So, what should you do? One thing to bear in mind amidst these undesirable scenarios is that at this point, if toilet water is fated to be strewn across your bathroom floor, sadly, there’s not much you can do. Therefore, step back and don’t panic. Then breathe and brace yourself; it will be alright! Your Beavercreek Plumbing & Drain professionals have your back, and we will walk you through the process.
Step 1 – Try Shutting Off the Toilet’s Water Valve:
Typically, a shut-off valve is located in the back of your toilet. But, in the craziness of the moment, the best thing to do is to shut off the water supply first. So, look for the football-shaped valve and turn it clockwise once located to shut the water supply to the toilet off. But just keep in mind that you should avoid flushing the toilet until everything is resolved. Since a clog still prevents the toilet from draining, it will only result in another mess if flushed multiple times.
Step 2 – Try Sealing the Flapper in the Tank:
Next, since you have shut off the water supply to the toilet, open the tank in the back of the toilet and look for the rubber circle placed over the drain. This rubber piece is placed there to keep the water from running into the toilet. You should find it attached to the end of a metal lever or chain, which connects to the flush handle. You can gently push this rubber seal downward just as a little bit of extra assurance that the water is, in fact, sealed off.
Step 3: – Try Securing the Float:
Now it’s time to locate the float cup (or float ball) in the tank, which should also be located on the inside of the toilet tank. The float cup or float ball is placed there to regulate the water level in the toilet tank. To make the water stop continuing to fill the tank, you can immobilize the float from moving. This is just another extra means of making sure everything is adequately secured.
Step 4 – Try Removing the Excess Water:
Once you have finally stopped the water flow, give yourself a pat on the back. Great job! You have halted the issue at the source. However, we are not entirely done yet! It’s time to proceed with the cleanup! First, remove the overflow from the toilet bowl because once the toilet is functioning, you don’t want it to overflow all over again. In the unfortunate event there is waste or debris in the overflow (always a possibility, given the situation), remember to exercise precaution during the cleanup process. Safety and hygiene should always be top priorities! We highly recommend grabbing a pair of gloves if they are available to you. Begin by picking up any solids and waste and very carefully placing them in the garbage. Don’t forget that you will want to take out the trash as soon as possible after all is said and done. You can clean up the overflowed water from the toilet bowl the old fashion way using a handy dandy bucket or container. Do this by carefully scooping the extra water out of the toilet bowl and draining it into either the bathtub or sink.
Moving on, let’s think about those floors. It’s probably safe to assume that the last thing you want is water damage to your flooring. If you have hard flooring, you can clean up the spill with old towels, rags, or a mop – whatever is available. Another good idea is that if you have a wet vacuum, now would be an excellent time to use it. But if the overflow somehow made its way over to your carpeted space, a good strategy is to lay towels flat over the wet carpet and then place a heavy object on top of the towels, giving it ample time to soak up the excess water. On top of that, you want to ensure that when everything is taken care of, proper disinfecting steps should be taken.
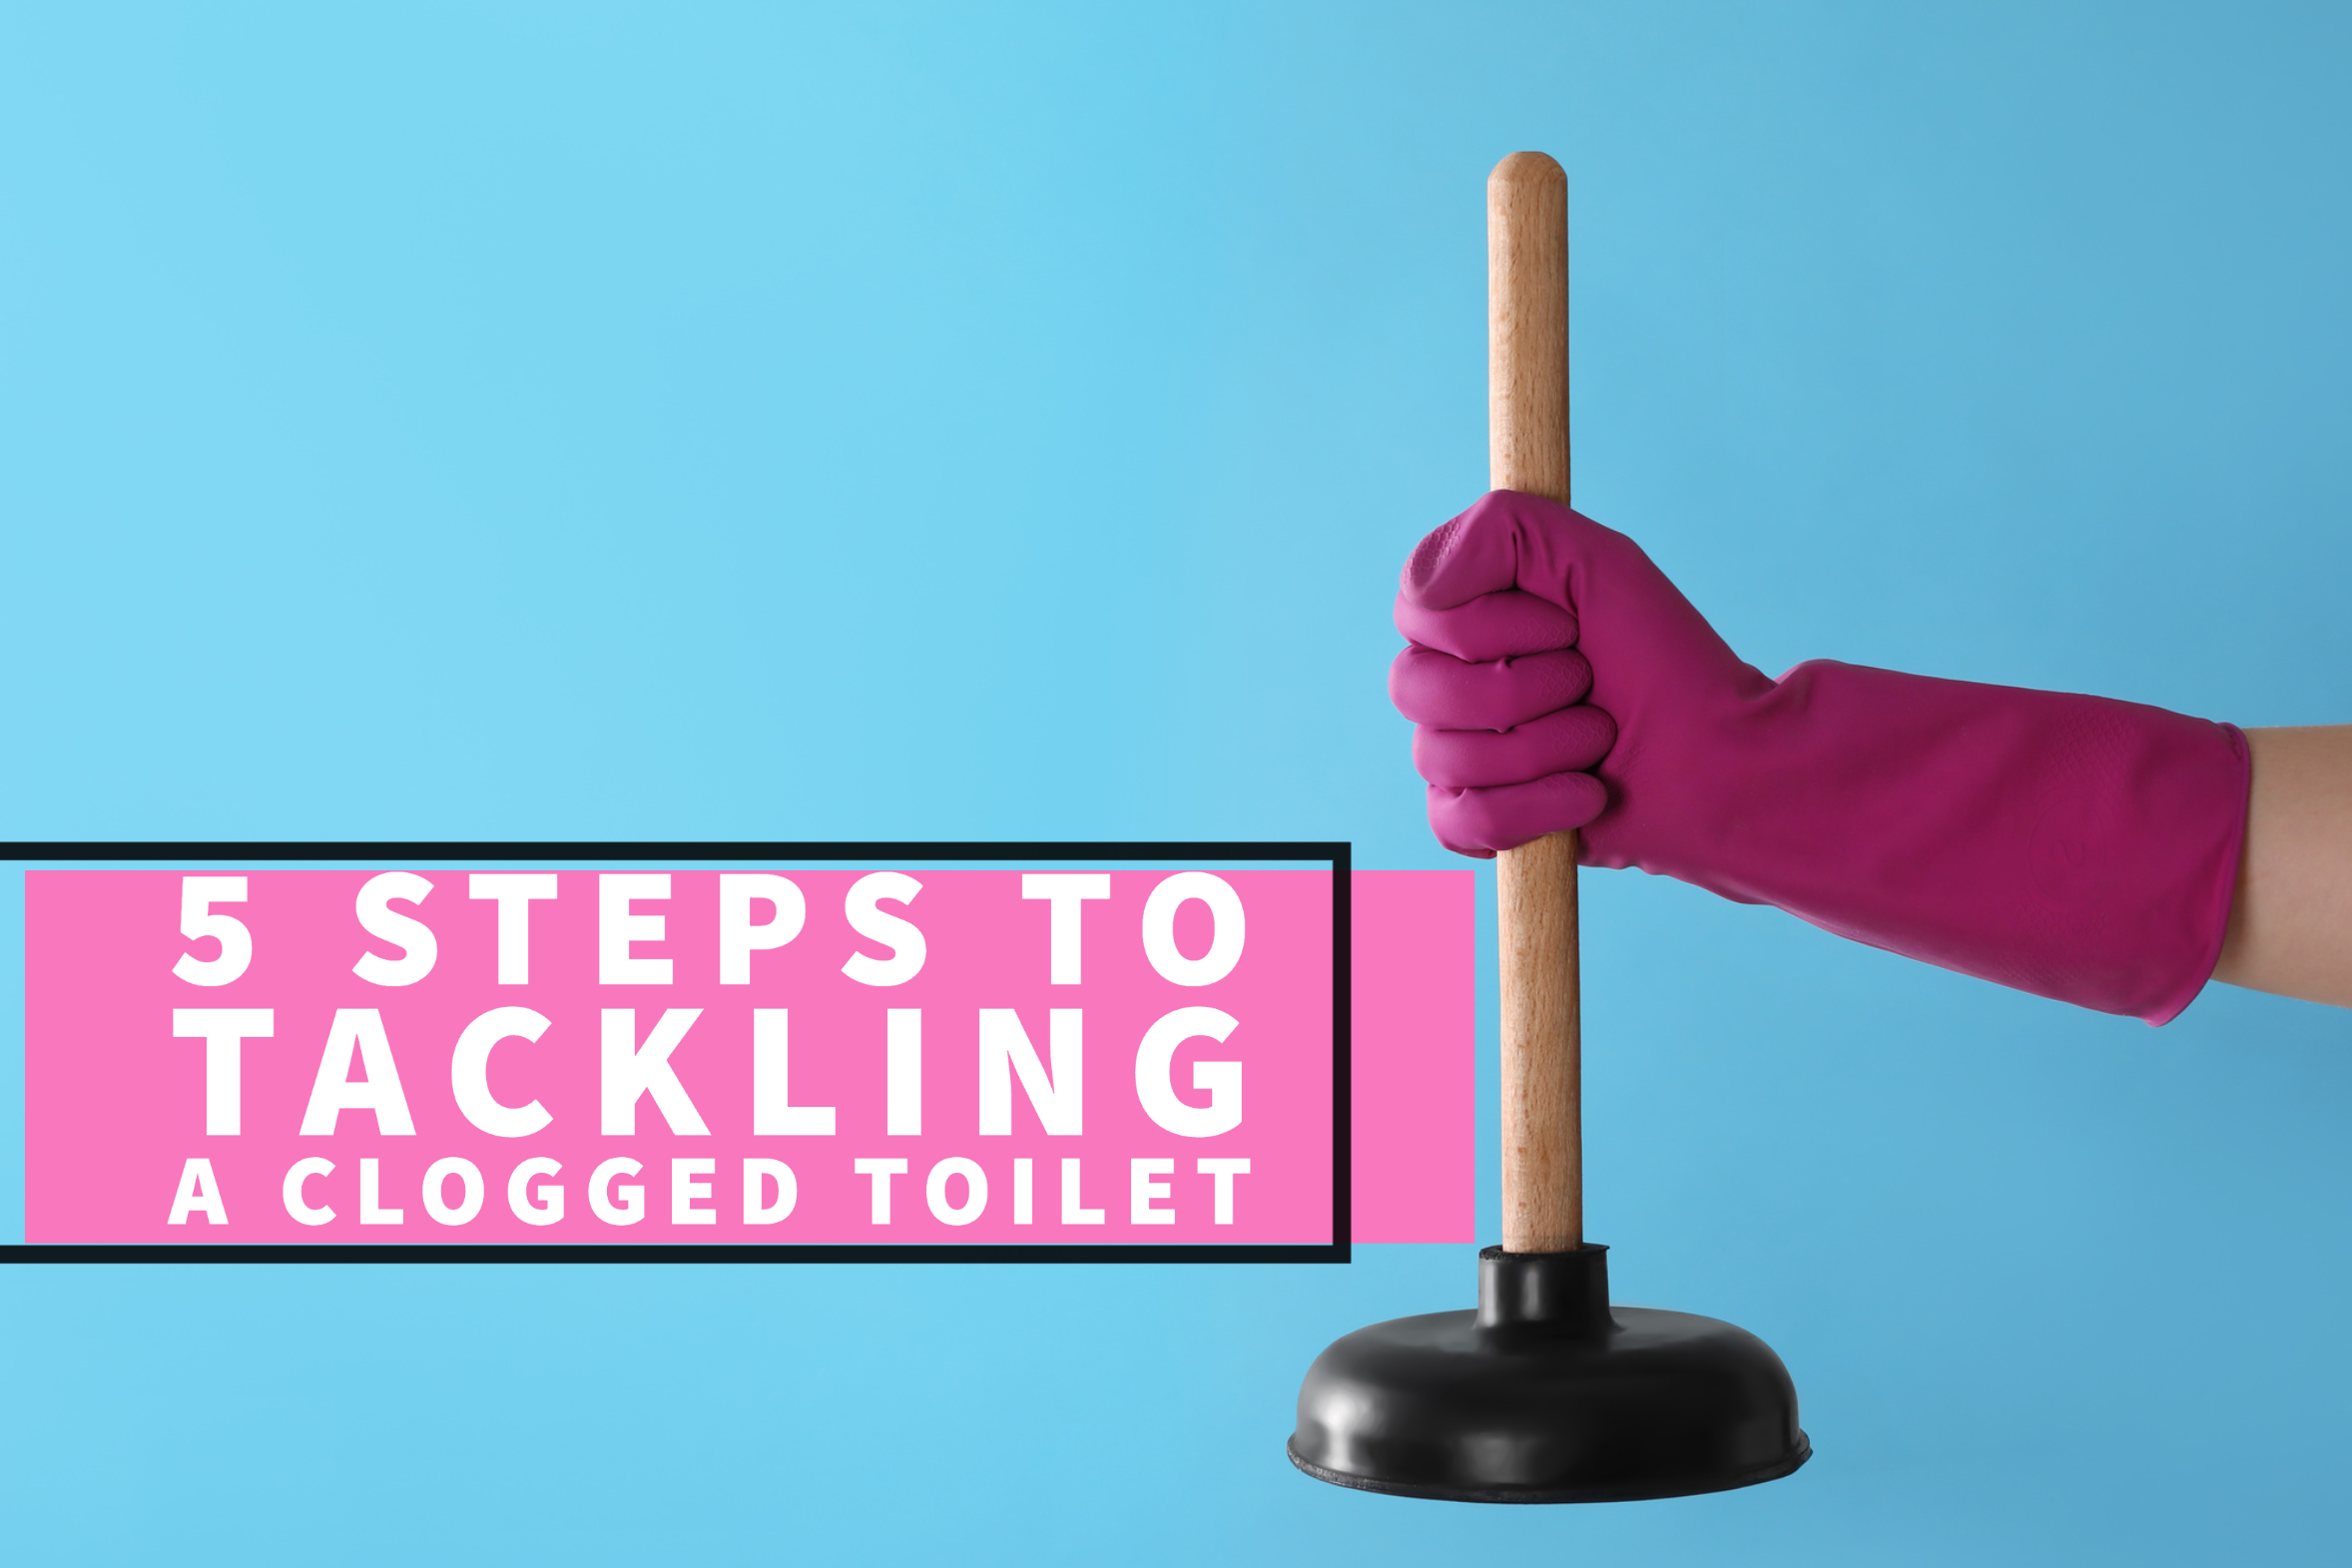
Step 5 – Try Taking Care of the Blockage:
For the most part, the nitty-gritty work is all over, but we still need to fix that clog! At this point, you want to grab your plunger and place it directly over the toilet drain. Make sure the plunger is immersed in the water, then utilize the plunging motion to neutralize the clog. At this point, the toilet should drain, but if it does not, there may be a more significant issue at hand. This is a good sign that it is time to call a professional – especially if you have tried multiple times to release the clog on your own. However, if your toilet is indeed working again, fantastic! Before wrapping up, make sure you readjust everything back to its original position, return the tank cover, and turn the water valve back on.
Call Beavercreek Plumbing & Drain today at (937) 404-6575, or schedule an appointment online now by clicking here!